3D Assignment: Complete

So we all got a memo at the 11th hour (literally… last night) saying that the deadline for this assignment has been moved from today to next Thursday. Having suffered some extremely fraught/sleepless nights and bleary-eyed days to get this assignment in on time, I have to admit that my feelings on hearing the news were initially… mixed.  But (after a perspective-inducing nap) I figured that I’m happy to just have it done, I can spend next week concentrating on making a super-fantastic animatic (and possibly fix a few niggles I have with the poly modelling/composite, but I’m trying to resist my perfectionist tendencies). Here’s what I’m handing in:

NURBS Reference Image:

house for an art lover

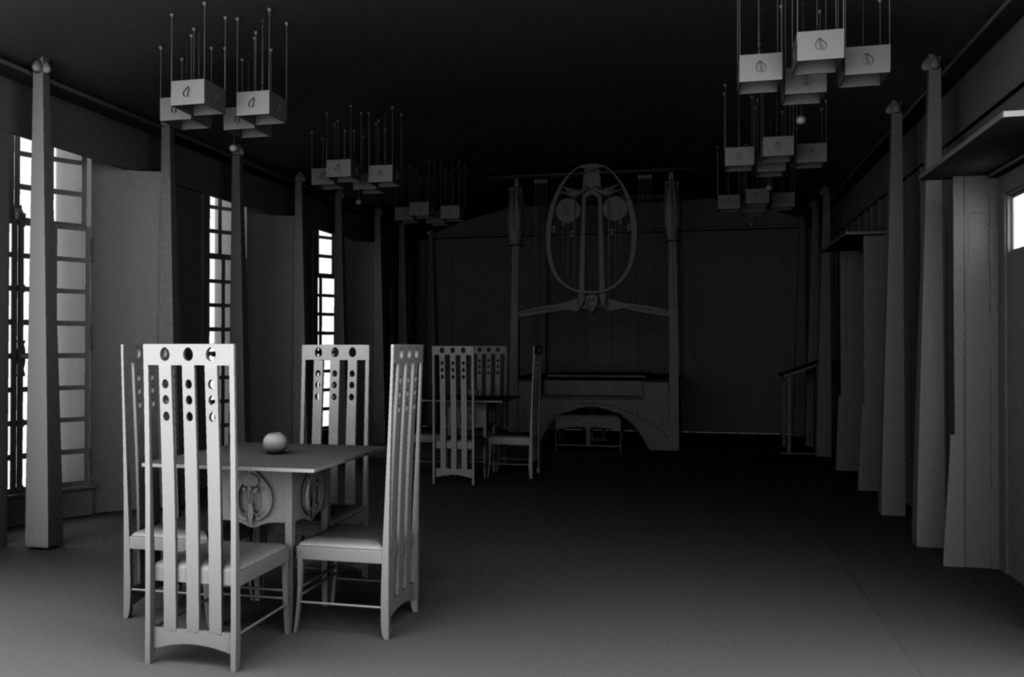
Rendered Still Image (Ambient Occlusion Only):

NURBS_Modelling_Render_Still

Rendered Still Image with Lighting:

NURBS_Modelling_Render_Still_Hi_Res_With_Lighting

Model flythrough:

Polygon Reference Images:

SideTop

Polygon Model (Ambient Occlusion Only)

Shoe_AO

Polygon Model with Textures (two angles):

ShoeCloseUp_0001ShoeCloseUp_0002

Render Layers/Passes

Diffuse (no shadow):

DiffuseNoShadow

Depth:

depth

Specular:

specularReflection:

ReflectionReflection on Table:

ReflectBG

Scatter:

scatter

Ambient Occlusion:

AmbientOcclusion

Fresnel:

Fresnel

ID Pass 001:

IDPass001

ID Pass 002:

IDPass002

(plus two shadow passes but… well… they’re black)

Background Plate (supplied):

avworkshop 062

Nuke Script (comprising blur, lens distortion, grain, chromatic aberration and a shedload of colour correction/grade nodes):

nukescript

Final Render:

Final_Render

So there you go. Considering that it’s the first time I’ve used either Nuke or Mental Ray, I’m quite pleased with how it’s turned out.

Final NURBS still with lighting


While it’s strictly optional to light the NURBS scene, I decided to use it as a chance to refresh my lighting skills – with a bit of help from Gnomon Workshop: Efficient Cinematic Lighting with Jeremy Vickery.  While many lighting artists are seduced by complex, render-heavy Mental Ray effects such as Global Illumination and Final Gather, Vickery encourages restraint, limiting his palette to the more basic Maya Spot Lights, Area Lights and Ambient Occlusion.  The result is a far greater measure of artistic control and vastly reduced render times.

Also, while I was perusing internet forums in my search for “the perfect shadow,” I was made aware of the possibility of using Depth Map shadows with Mental Ray Overrides applied. This results in a very realistic shadow without the indiscriminate blurriness of Maya Software Depth Map shadows, nor the crazy render times of Raytrace Shadows. Definitely a good compromise for artists in a fix. Also it allowed me to have nice soft shadows like the ones in the reference image (bottom), rather than the very hard-edged classic Raytrace shadow.

NURBS Modelling


Since last Friday I’ve started to tackle the NURBS modelling task – the task being, to choose an image of an interior and model it. I’ve picked one of Scotland’s most famous – Charles Rennie Mackintosh’s House For An Art Lover. It’s proving… difficult, shall we say. I decided to start with the most difficult asset and work my way down, so I’ve started with the piano. Tonight, I modelled eighty-eight keys. I wish to never look at one again.

This slideshow requires JavaScript.