Molecular Shaders

HDM2 p14 p53 p53R2 Proteasome Ribosome UbiquitinHad a very productive day on Friday, built seven SSS shaders from scratch.  From top to bottom: HDM2, p14, p53, p53R2, Proteasome, Ribosome, Ubiquitin.  On to texturing now – though now that I’ve seen these together I might make a few changes to make different molecules more discernible.  What’s most important is that the translucency and soft shadows of the SSS have allowed me to swerve the “sci-viz” aesthetic I’m keen to avoid (generally a default Blinn with an oversaturated Diffuse channel and way too much specular, or no specular at all).

Colour Psychology

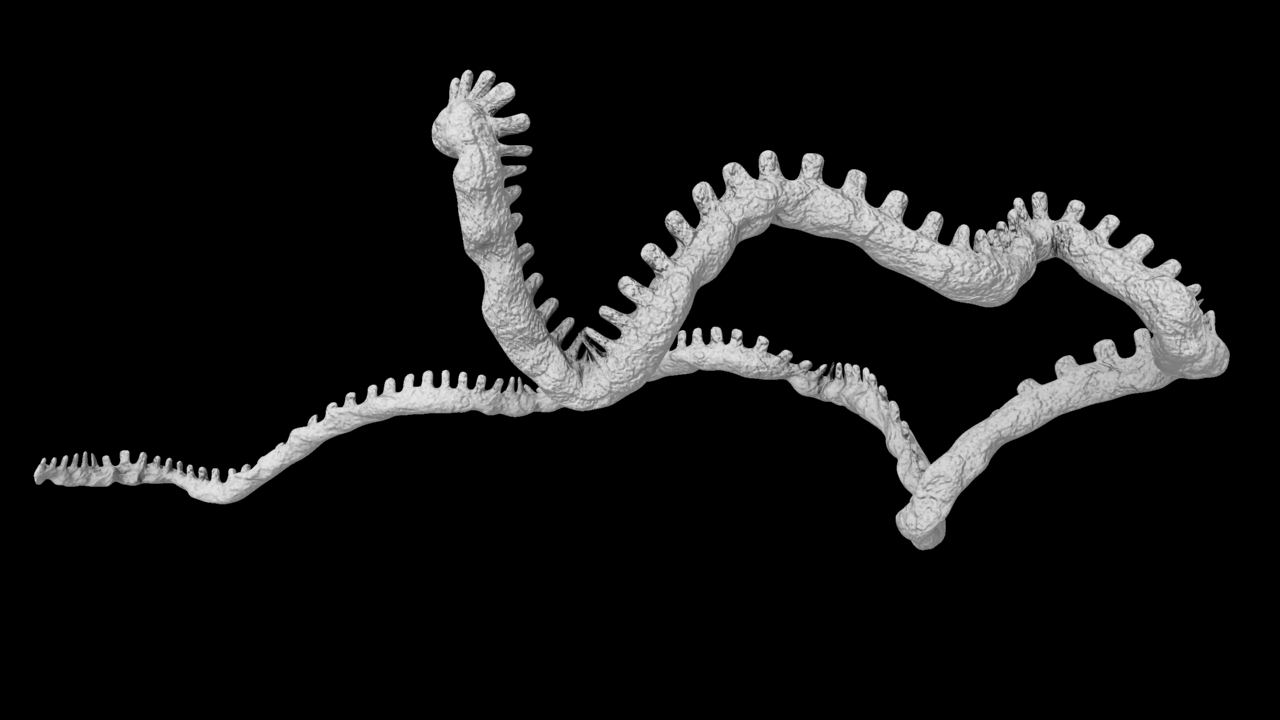
This morning I was fiddling about with a shader for my HDM2 molecules, but I just kept changing my mind. I realised that I would need to lock down exactly what colour each molecule would be to avoid wasting time, but I would need a system.

So, at the risk of sounding a bit like one of those people who read your horoscope, I’ve been looking into colour psychology. Most specifically Western colour psychology, I know that many  cultures imbue colours with completely different meanings but I had to narrow it down somehow and I’m most familiar with Western customs.

I made a list of the colours and some keywords explaining the feelings and ideas each colour evokes (with reference to a few online links and my own experience), then assigned a “character” to each molecule based on their role in the cell.  It sounds woolly, I know, but it’s the best system I’ve come up with.

Colour psychology links:

http://www.luminous-landscape.com/tutorials/colour_theory.shtml

http://psychology.about.com/od/sensationandperception/a/colorpsych.htm

http://www.infoplease.com/spot/colors1.html

Red: danger, passion, love, warmth, intensity, anger, action

Yellow: warning, happiness, frustration, cowardice

Blue: passivity, calm, sadness, productivity, loyalty, poison

Orange: excitement, enthusiasm, warmth, sociability

Green: Nature, tranquillity, health, jealousy

Purple: royalty, luxury, wisdom, spirituality, creativity

Pink: love, romance, tranquility

Brown: strength, reliability, comfort, security

White: Purity, innocence, sterility

Black: Evil, magic, death

Grey: conservative, boring

HDM2: Attaches ubiquitin (tagging molecules) to p53 to mark it for destruction.

Keywords: dutiful, worker, trustworthy

Colours: brown, grey

Ubiquitin: so called because it is “ubiquitous” – one of the most common molecules in the cell. Tags proteins for destruction.

Keywords: natural, life cycle

Colours: green, white

Proteasome: Destroys tagged proteins.

Keywords: destruction, obliteration

Colours: black, red

p14: Binds to HDM2 to prevent p53 destruction cycle from taking place.

Keywords: action, energy

Colours: orange

Ribosome: creates proteins.

Keywords: Production, creativity

Colours: Blue, purple

p53R2: Created through p53 DNA binding. Repairs DNA.

Keywords: fixer, heroic

Colours: brown, orange

p53: Tumour-suppressor protein, binds to DNA to begin creation process.

Keywords: facilitator, heroic

Colours: red, orange
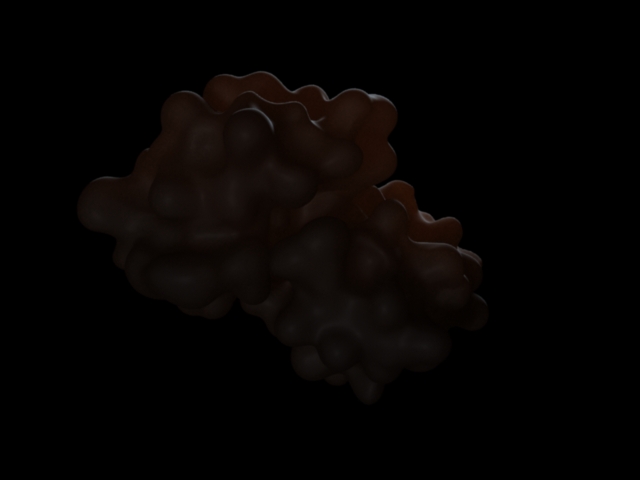
Collaborator Meeting 23-05-2013: Notes

Today’s meeting with Angus was interrupted by champagne (welcome) and two fire alarms (less welcome) but we still managed to talk about a lot. Mostly about the narration, but about a couple of other points too.

– The mRNA backbone is too thick, compared to the other organelles it’s really tiny so I need to fix this. There are also proteins bound to it at all times (“heterogeneous mRNA binding proteins,” such as hnRNP), so I should show them.

– Sometimes the animatic is not quite clear whether we are in the nucleus or the cytoplasm.  The colouring and shading, therefore, should be very different to make it more clear (or introduce the environment in the narration).

A few amendments to the animatic narration:

– It may be worth mentioning that p53 is simply one of the most important in a great number of proteins responsible for tumour suppression.  This is not imperative though – it depends on whether I can find a way to fit it in that doesn’t sound clumsy.

– What is imperative is that unchecked DNA damage does not always result in cancer – normally it results in apoptosis.  Only if the UV rays damage the genes responsible for regulating cell division, does a tumour form.

– “p53 is now free to initiate…” is not technically correct. Rather, “p53 is no longer degraded and now quickly accumulates (Angus’ analogy was that of water draining away, being stopped by a plug).”

– It is worth saying (probably at the end) that the reason for many cancers forming is an abnormailty in the p53 (or the p14) gene.

End of Semester Two Presentation – A Post-Match Analysis

Just completed my presentation for the Advanced Production module. The presentation went fine, what was most interesting though was that afterwards I was asked some really tough questions.  I feel the need to publish my answers here because they give a good insight into the philosophy behind my work.

Firstly, I was challenged to prove that my work is more than a simple regurgitation of the science of Angus’ work.

I wasn’t given the story of p53 as a commission: I chose it.  Why?  Because at its heart is a very human story.  It deals with birth, death, hope and healing.  In cinematic terms, it has a protagonist (p53), an antagonist (UV rays), and a challenge that must be overcome (DNA damage).  I chose this story because it was one I connected with emotionally, and I knew that if I connected with it emotionally then artistic elements that are essentially mine would filter through into the imagery, staging and storytelling.

Also, I would point out that I am only just beginning to reach the point where true artistic decisions can be made.  I will concede that there is not much I can do, artistically, about the modelling.  A major compromise on the structure of proteins is not one that Angus or I am willing to make.  I feel it would compromise the integrity of the piece. However, there is now a colour scheme, chosen by me (if I were “regurgitating the science,” it would be colourless, as is scientifically accurate).  There is cinematic lighting and composition, also chosen by me.

I am no more “regurgitating the science” than the film Life of Pi is regurgitating the book.  I see it as an adaptation of a previously published work, and others should see it as such.

Secondly, I was asked what it is that my film would convey over and above the science.

Strangely, phrases such as over and above are the exact reason why I’m making this film, because “over and above” suggests that the science by itself is not enough.  I could not disagree more.

I am making this film because so many people see science as dull, dry or inaccessible.  I want to show that science can be fascinating, that it can be beautiful and absurd and actually, not that hard to understand.  After all, science dictates and explains nearly everything we do, so we do it a disservice by suggesting that my short film should convey something “over and above” that.

New Comp Test

Image

New Comp Test

The latest comp test of the nuclear interior. I’m really happy with this. Tried out a few new things today including Lens Blur and God-Rays (could there BE a cooler name for a node?). Digital Tutors’ Photorealistic Camera Lens Effects in NUKE course has been fantastic.

Also fantastic is the mia_bokeh node, which I used on top of some nParticles. It’s really versatile as you can add your own texture to it – taking inspiration from the Jellyfish Pictures reel I’ve connected a pentagon-shaped alpha to it. Although Nuke has its own particle system, the quality of the Bokeh effect within Maya/Mental Ray was way too good to pass up.

I hope to be able to post a moving version up tomorrow.

Proxies in Action

Image

Proxies in Action

So I finally got the proxies working. This scene is around one billion polygons. Not sure how long it took, but I know it was under four hours, because I went to bed and then woke up at 4 a.m. with a delirious urge to check the render (I think everyone’s had that at some point… or maybe it’s just me).

It looks extremely weird right now, but hopefully I can turn it into something nice-looking by Monday’s assessment.

A Question of Scale, Part Three

So I set up a lighting test with my Nucleosome Proxies all nicely arranged, positioned a light right at the back of the scene with the intention of creating nice bright highlights with a sharp falloff into dark shadows, and hit Render

Immediately I noticed something really weird.  The histones were all bright red, even in the places where they should have been in complete darkness.  It was like the light was going straight through them.  In fact I had noticed a similar effect on anything I had applied a Subsurface Scattering shader to.

I decided that it was time to stop hoping that the default Scatter settings would get me through, and actually do my research.

As always, Digital Tutors knew how to provide, and I found a fantastic tutorial, mental ray Workflows in Maya: Subsurface Scattering.  It took the fear out of working with SSS.

I found out why the fast_skin shader was acting in that way, and of course it was down to – surprise, surprise – scale.

The fast_skin shader is set up to work as human skin, to be put onto a real-world size human being, not a tiny cell organelle.  The Back Scatter (attribute used to control areas of complete translucency i.e. the webbing between fingers) has a Radius setting to control how far through the light can penetrate. This is the default setting of 25:

highbackscatterradiusAnd this is what it looked like after I scaled it back to a more moderate 0.5:

lowbackscatterradiusSo now the light only filters through on the edges, rather than the whole object.