Lighting/Comp Test

Image

Lighting/Comp Test

OK, so… ignore the slapdash modelling, and the awful shader, and the missing DNA, and the chronic anti-aliasing (or lack thereof)… here is a rough test of the final look, lighting/comp wise. Still feels like it’s missing… something. A bit of atmosphere, for lack of a better word. And it feels a bit too spacious, but that’s more of a composition thing, just need to add more chromatin and move them around a bit.

Thumbnails

So having spent the last three weeks doing Going Live, I find out that we have to do a presentation on our personal project tomorrow.  Time to magic some work out of thin air…

As if they heard me, Digital Tutors has provided me with a way to do exactly that… well, almost.  Creative Environment Thumbnail Techniques in Photoshop with Nate Hallinan (check out his work, by the way: http://www.natehallinan.com/) explains a way to get the composition, colour and lighting of your piece locked down in precisely 45 minutes (or less, if you’re more experienced in Photoshop than I).

Following the tutorial, I started with a study.  The only problem is that there are no real-world photographs of the inside of a cell (unless you count murky black-and-white microscope slides), so I was going to have to make it up a bit.  I decided that considering how much stuff floats around in cells, an underwater scene would a be a good starting point.

Study_CompiledI may have shot myself in the foot by picking something that was really rather difficult, and as you can see I ran out of patience toward the bottom of the image, which is not really what you want when you’re trying to keep things fresh. I didn’t time myself for this one or the inside-the-nucleus shot, as it had been so long since I’d touched Photoshop that I needed time to re-familiarise myself with the tools.  I limited myself to 45 minutes for the cytoplasm shot though, and I noticed a big difference in that I felt much more creative and less fed up with the painting.

Test_CompiledI used what I had learned from making the study to paint the images on the left, then used Hue/Saturation to alter the colours and make a couple more tests.  I think my favourite one is Test_02, considering that the setting is the interior of a skin cell I think it makes sense to stick to warm colours.

Shrinkwrapping

Remember the problems I had with the automatically generated high-poly, triangular mMaya meshes? I thought I had perhaps found my answer in the new Maya 2014 modelling tools…

Sadly, Autodesk’s tardiness in making Maya 2014 available to the Education Community has meant that for now I must look elsewhere.

My good friend, the ever-resourceful Pat Imrie, pointed me to a free Maya plug-in called polyShrinkWrap, which I have been experimenting with tonight.  It’s simple to use – select the vertices of the mesh you wish to shrink, shift-select the target object, and type “polyShrinkWrap;” into the Script Editor.

There were a few initial issues, but I found out that it seems to work much better when both models are centred on the origin. After I figured that out it was very responsive.

polyShrinkWrap_002The top image is my initial result (mMaya mesh on the left, shrinkwrapped PolyCube on the right); the bottom image is the same mesh after some minimal work with the Sculpt Geometry Tool.  It is high-poly still, but I find that the fidelity of the shrinkwrapped mesh is greater if I use a high-poly mesh, then Reduce it afterwards, rather than starting the process with a low-poly mesh.


Dynamic Fishing…

Sounds like the best extreme sport ever, but sadly in real life only involves Maya, more particularly MEL.  This is a shoal simulation of fish that I will be using as a base for my simulations in the Going Live project.  I instanced Sean’s swim cycle and have used MEL to:

– Randomise the start point of the swim cycle.

– Randomise the scale of individual fish.

– Connect the speed of the swim cycle to the velocity of the fish, so that the cycle speeds up if the fish are travelling faster.

Skin

skin skin_refractI’ve been modelling the outer layer of skin.  I noticed when looking at pictures of skin close up that the top layer of skin is slightly translucent so you can see some of the hair underneath, so I’ve tried to emulate this using a semi-transparent plane (mia_material_x) on top of another plane (misss_fast_skin_maya) with the root of the hair sandwiched between the two.  Not sure whether I’ll still get the scattering this way so will have to do some more testing.

A Question of Scale

So I’ve been doing some more work on the nuclear envelope and endoplasmic reticulum (ER for short) and I’ve been having a bit of trouble trying to determine the exact scale to work to.

This is my original storyboard sketch of that establishing shot:

0010This was largely based on a drawing in The Biology Coloring Book (Griffin and Vadala, 1986).

P1000712This was what I ended up with, as I posted earlier:

RERI decided to look up some artistic interpretations of this part of the cell for additional reference.  I found this from The Flow: (MRK, 2012)

Still image from The Flow by MRK 004And this, from Secret Universe: The Hidden Life of the Cell (BBC, 2012)

NucleusbbcWhat I instantly noticed was that the ER in these shots seems to go on forever (an impression assisted by copius amounts of depth of field. And FOG), and be much more densely packed around the nucleus.  The result is a much greater sense of – for lack of a better word – epic-ness. And scale.  The cell just seems bigger in these shots.  Yes, a cell is really extremely tiny (a fact re-iterated by my biology student sister who spent many frustrating hours trying to extract a cell nucleus, only to accidentally crush it with what was, relatively speaking, an ENORMOUS needle).  But if you were to shrink down to the size of a virus, or, say – a p53 molecule, the cell would seem immeasurably huge.  I realised then that I should be aiming for a larger sense of scale.  Plus, it would save me the hassle of modelling the other organelles in the background. Considering that modelling the ER proved insanely difficult, this would be a welcome change.

So I’ve re-jigged the model somewhat.  Not sure that it’s quite there yet – the nuclear pores still seem a bit big – but I think it’s better than before. I may experiment with changing the focal length of the camera too, to alter the scale.

composition

Modelling Update

p53p53. Pre-sculpt, obviously.

pore_2Nuclear pore, now with added depth.

nuclearenvelopeNuclear envelope.

RERTop view of nuclear envelope with rough endoplasmic reticulum.

chromatinA section of chromatin. How I’m going to get hundreds more of these into my scene without breaking my computer (or my brain) is a question that I’ve yet to fully look into.

DNA_MilkyWayLastly (for fun) I’ve been looking at some of the free HDRs on hdrlabs.com to use as atmospheric “fill lights.” This is my favorite one, of the Milky Way.  Thinking about renaming my film “p53 (and other organelles)… in SPACE!!.”

I joke.

A Long Expected Blog Post

So it’s been a while since my last blog post. The reasons for this are twofold – literally, two other modules, both of which have elements that I’m not allowed to talk about on here for various reasons, which include (but are not limited to) the potential violation of ethics agreeements and – at worst – a lawsuit.

So after a few weeks of feeling a bit like an MI6 agent, except armed with Powerpoint, Maya and a dictaphone, I have finally amassed enough stuff that I’m actually allowed to talk about to form a new blog post.

1. I have been leading the Going Live project, a simulation of a real-world project in conjunction with The Mill.  In addition to the chairing of various meetings, I have been (partly) modelling and sculpting our central character, a Right Whale.  Here he (she?) is:

003 006 007 009 010My next steps will involve the dynamic simulation of some fish.

2. I also presented in a Mock Symposium for the Reflection on Practice module, for which I focused specifically on cross-disciplinary collaboration.  Here’s a selection of slides from that:

Slide1 Slide2 Slide4 Slide5 Slide12 Slide14 Slide16  Slide19 Slide22 Slide23 Slide24

We also had to submit a complementary essay last week, hence the lack of physical output of late.

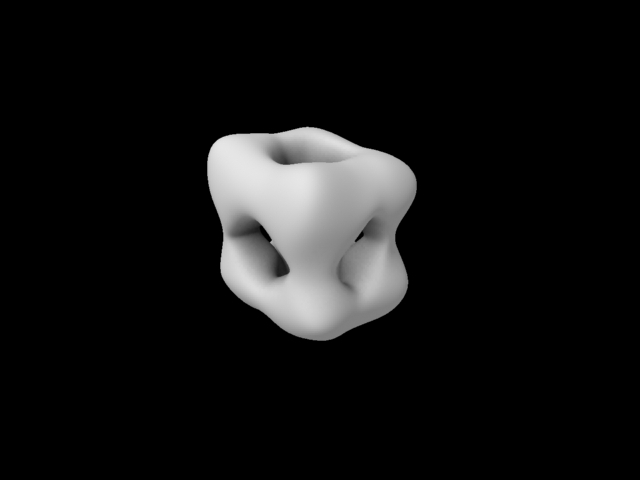
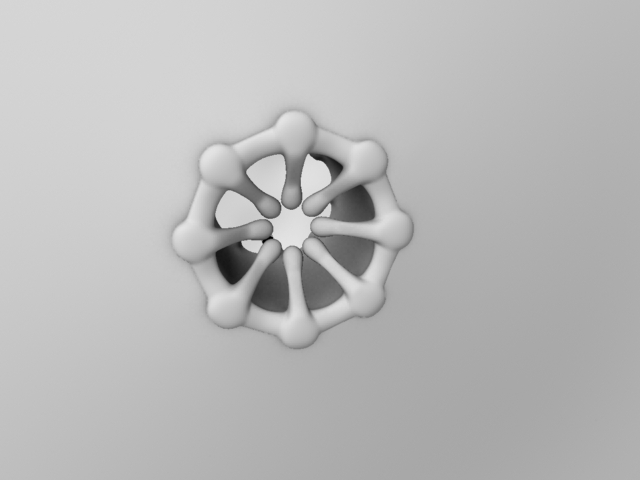
3. As for my personal project, I am happy to report that Angus was happy with the new animatic, aside from two minor scientific mistakes:

– What I referred to as “p19” in the animatic is actually “p14,” p19 being the mouse equivalent of the protein.

– The protein actually folds as it is being produced, rather than afterwards as I have shown it.

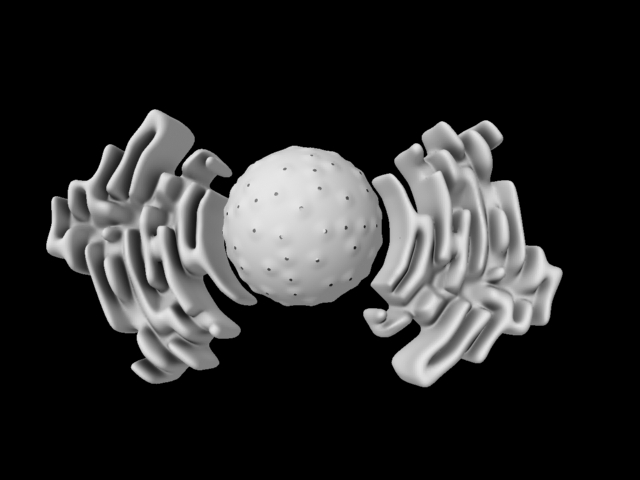
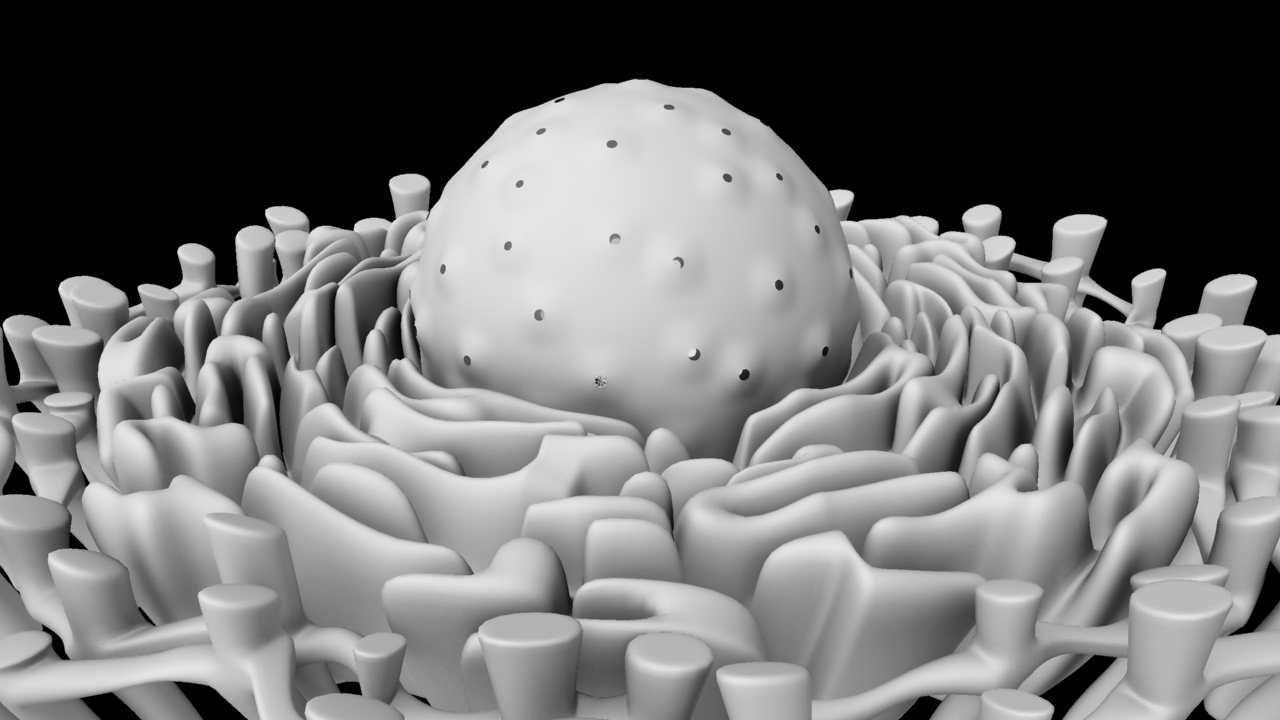
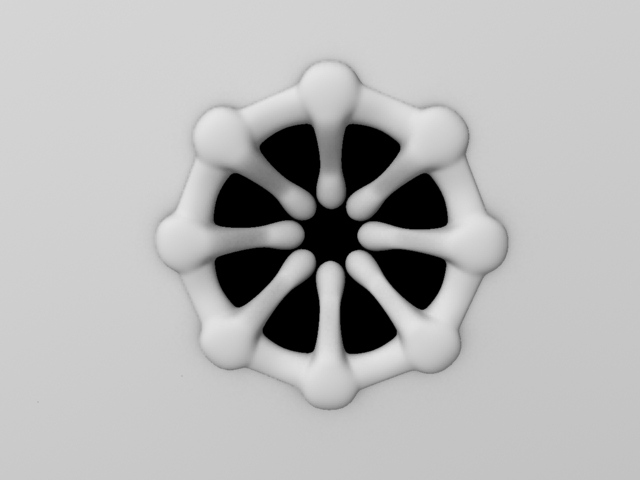
So I have now begun the modelling process. I am currently working on the nuclear envelope and pores, which look like this at the moment:

poreI am also looking into ways to re-topologise the mMaya meshes, as they are proving prohibitively heavy and triangulated.

Think that’s all for now.

New Animatic

I’ve finished the new animatic, so I will be showing this to Angus at the next possible opportunity.  I’m still unclear on the shape of p19 (sadly couldn’t find the whole molecule on the PDB, just various individual amino acid chains) or the identity of the other tumour-suppressor proteins involved, so hopefully I will get some answers to these questions at the next meeting.