A Question of Scale, Part Three

So I set up a lighting test with my Nucleosome Proxies all nicely arranged, positioned a light right at the back of the scene with the intention of creating nice bright highlights with a sharp falloff into dark shadows, and hit Render

Immediately I noticed something really weird.  The histones were all bright red, even in the places where they should have been in complete darkness.  It was like the light was going straight through them.  In fact I had noticed a similar effect on anything I had applied a Subsurface Scattering shader to.

I decided that it was time to stop hoping that the default Scatter settings would get me through, and actually do my research.

As always, Digital Tutors knew how to provide, and I found a fantastic tutorial, mental ray Workflows in Maya: Subsurface Scattering.  It took the fear out of working with SSS.

I found out why the fast_skin shader was acting in that way, and of course it was down to – surprise, surprise – scale.

The fast_skin shader is set up to work as human skin, to be put onto a real-world size human being, not a tiny cell organelle.  The Back Scatter (attribute used to control areas of complete translucency i.e. the webbing between fingers) has a Radius setting to control how far through the light can penetrate. This is the default setting of 25:

highbackscatterradius
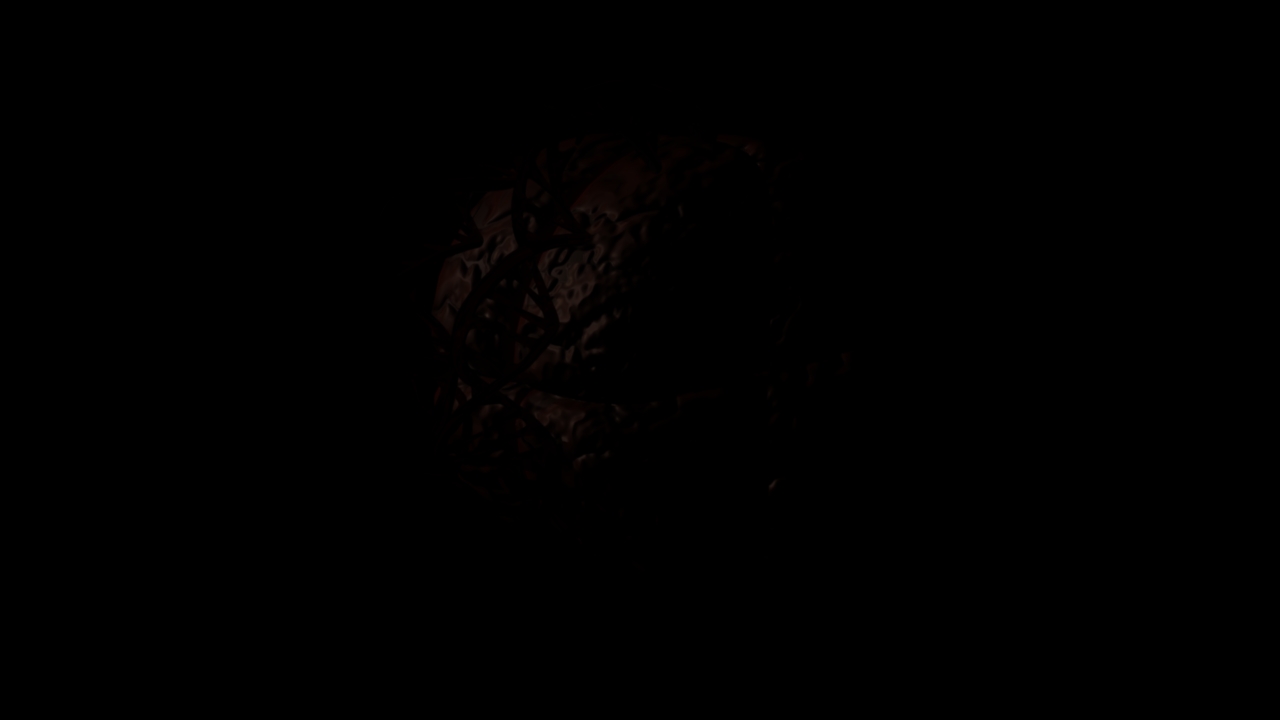
And this is what it looked like after I scaled it back to a more moderate 0.5:

lowbackscatterradiusSo now the light only filters through on the edges, rather than the whole object.

Linear Workflow

Image

Linear Workflow

Been investigating Linear Workflow and Gamma Correction. It seems that many of the tutorials on this are oversimplified, as most tell you to correct “anything that affects an object’s colour.” In practice though, on an mia_material_x it appears that only the Diffuse need be corrected – other channels, such as Specular, should only be corrected if a File Texture node is attached to it. That’s not a hard and fast rule – it’s just what seems to work on my files.

The misss_fast_skin shader, on the other hand, was initially a nightmare. Gamma correcting all the Subsurface layers yielded some really weird results, with highlights blown out and everything else turning muddy grey.

The best workflow seems to be connecting the OutValue of the shader into a Gamma Correct node, then connecting the output of that into the Additional Color of an mia_material_x shader, then turning down the specular highlights on that so that only the miss shader comes through. Interesting…

p53 Shader Development

Did some more look development on my p53 sculpt last night, with the help of two Digital Tutors courses: Creative Development: Subsurface Scattering Shaders in Maya and mental ray with Jon Tojek and Mastering Displacement Maps in Maya.

I used the misss_fast_skin_maya shader, which utilises Subsurface Scattering.  You can see the scatter on the edges of the model – it’s more red where the light shines through. I decided to leave the scatter on its default skin colours – it seems to follow aesthetically that skin cell molecules should have a skin-like tone to them (though in real life they would be colourless). I’m really pleased with the effect it gives the model, and I think I shall be using it extensively in my film.  I’m pleased that the look’s finally starting to come together!